===
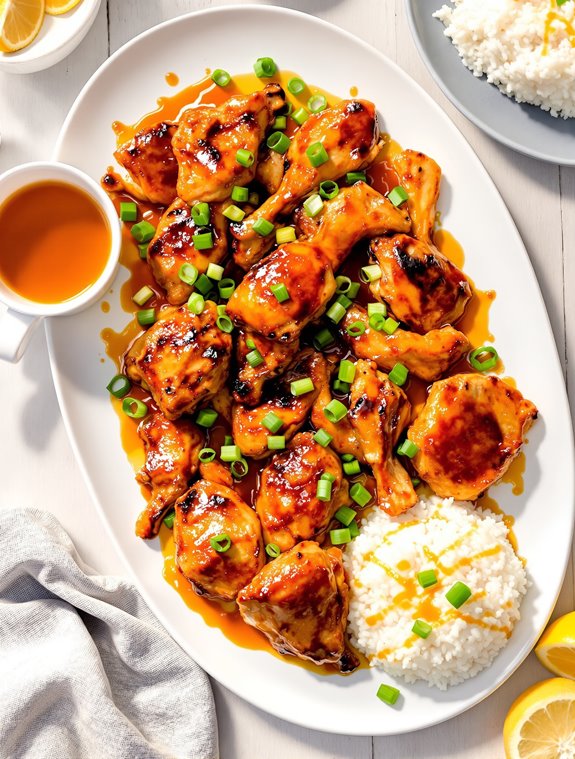
Why You’ll Love This Golden Glazed Honey Baked Chicken
This golden glazed honey baked chicken is a busy parent’s dream come true. With just five simple ingredients for the marinade, you’ll have dinner prep done in minutes.
The magic happens while it bakes—that heavenly aroma of honey and garlic filling your kitchen is worth every second of waiting.
I love how versatile this dish is. Need to prepare ahead? Mix the marinade the night before. The sweet-savory balance appeals to even picky eaters, and those gorgeous caramelized edges? Pure culinary gold.
Plus, that extra sauce makes plain rice taste restaurant-worthy. Trust me, this will become your new weeknight hero.
What Ingredients are in Golden Glazed Honey Baked Chicken?
What makes this Golden Glazed Honey Baked Chicken so special is the simple yet flavorful marinade that transforms ordinary chicken into a caramelized, sticky-sweet masterpiece. The beauty of this recipe lies in its straightforward ingredient list—items you probably already have in your pantry right now. No need to make a special trip to the grocery store or hunt down exotic spices.
This is comfort food at its finest, with a marinade that strikes the perfect balance between sweet honey and savory soy sauce, creating that irresistible golden glaze that gives the dish its name.
- 6 bone-in chicken breasts (or 1 whole chicken cut into 8 pieces)
- ¾ cup honey
- ¼ cup soy sauce
- ¼ cup olive oil
- 1 tablespoon garlic powder
- 1 teaspoon black pepper
- Non-stick cooking spray or foil (for the baking pan)
While the recipe is pretty forgiving, a few ingredient notes might help you customize it to your family’s taste. For a gluten-free version, simply swap in tamari instead of soy sauce.
If you prefer dark meat, chicken thighs work beautifully and tend to stay even juicier during baking. And don’t be tempted to use dried garlic instead of garlic powder—the powder distributes more evenly throughout the marinade and won’t burn during the long baking time.
The quality of your honey matters too; a local, darker honey will add more complex flavor notes than the standard supermarket variety, though both will certainly work.
How to Make This Golden Glazed Honey Baked Chicken
Making this honey baked chicken couldn’t be easier, and that’s honestly what makes it perfect for busy weeknights when you want something delicious without the fuss. Start by mixing the marinade—combine ¾ cup honey, ¼ cup soy sauce, ¼ cup olive oil, 1 tablespoon garlic powder, and 1 teaspoon black pepper in a small bowl. Give it a good stir until everything’s well incorporated.
The beauty of this marinade? You can make it ahead and refrigerate it for an hour or even prepare it the day before, which is a total lifesaver for those of us juggling work, kids, and everything else life throws our way.
When you’re ready to cook, preheat your oven to 375°F and prepare a 9×13-inch baking pan—either lightly grease it with non-stick cooking spray or line it with foil for even easier cleanup (because who wants to scrub pans after dinner?).
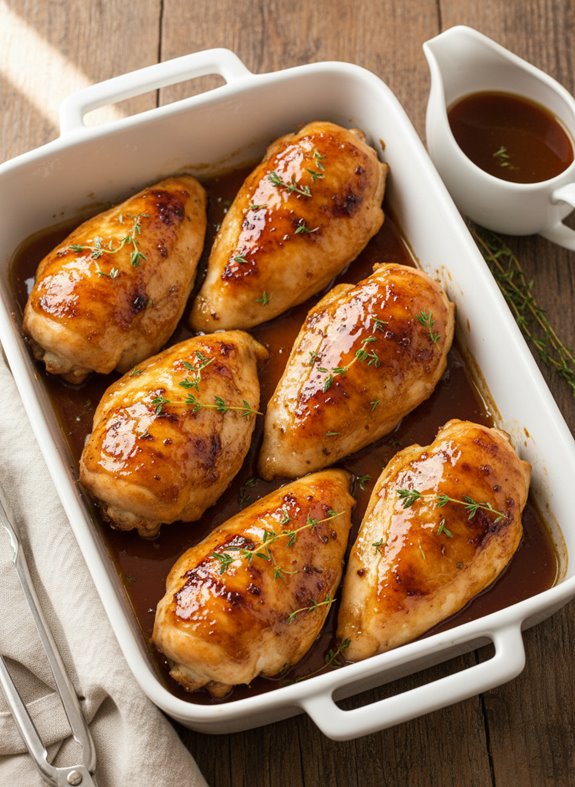
Take your 6 bone-in chicken breasts (or whole chicken cut into 8 pieces), give them a quick rinse under cold water, and pat them dry with paper towels. This helps the marinade stick better and promotes that gorgeous caramelization we’re after.
Arrange the chicken pieces in the prepared pan, then pour that luscious marinade all over, making sure each piece gets thoroughly coated.
Now comes the magic—simply pop the uncovered pan into your preheated oven and let it bake for about an hour, until the chicken develops that signature golden-brown color we’re looking for. The marinade will gradually thicken, creating a sticky glaze that coats each piece with sweet-savory goodness.
Can you smell that honey-garlic aroma filling your kitchen yet? Once done, don’t waste a drop of that liquid gold left in the pan! Pour those extra juices into a gravy bowl and serve alongside the chicken. The sauce is absolutely divine drizzled over rice or sopped up with a crusty piece of bread. Trust me, there won’t be leftovers.
Golden Glazed Honey Baked Chicken Substitutions and Variations
While the classic honey baked chicken recipe is absolutely delicious as written, you can easily adapt it to suit your taste preferences or what’s available in your pantry.
Try swapping chicken thighs for breasts—they’re more forgiving and often juicier. No soy sauce? Tamari or coconut aminos work beautifully.
I sometimes add a tablespoon of Dijon mustard for tang, or sprinkle in red pepper flakes for heat. Maple syrup can replace honey for a different sweetness profile. Fresh minced garlic instead of powder? Even better.
For an Asian twist, toss in grated ginger and finish with sesame seeds. The possibilities? Nearly endless.
What to Serve with Golden Glazed Honey Baked Chicken
Now that you’ve mastered the recipe itself, let’s talk about creating the perfect plate around your golden, sticky-sweet chicken.
I love serving this honey baked chicken with fluffy rice pilaf or mashed potatoes, which soak up that incredible sauce.
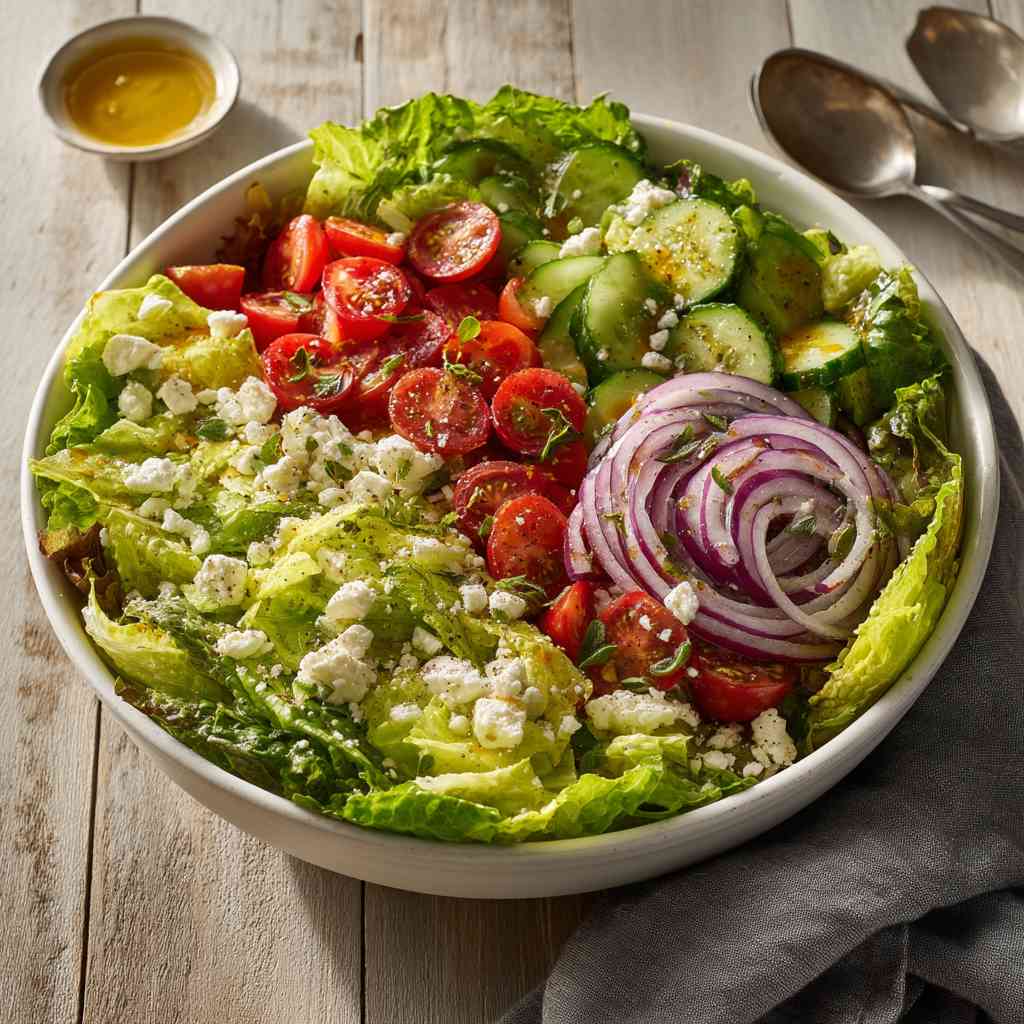
A bright, acidic side like lemon-dressed green beans or a simple arugula salad cuts through the richness perfectly. Trust me, you need that balance.
For something more substantial, try roasted root vegetables—carrots and parsnips particularly complement the honey flavors.
Can’t decide? Go with a classic dinner roll to mop up every last drop of that savory-sweet glaze. Pure comfort food heaven.
Final Thoughts
This golden glazed honey baked chicken recipe has three key virtues that make it a permanent fixture in my dinner rotation: simplicity, flavor, and versatility.
I’ve tried countless chicken recipes over the years, but this one strikes the perfect balance between effort and reward.
What I love most is how the honey creates that irresistible caramelized exterior while keeping the meat juicy inside.
The marinade does all the heavy lifting, flavor-wise. You can prep it ahead, making it perfect for busy weeknights or lazy weekend meals.
Trust me, this recipe might just become your family’s new favorite too.

Homemade Chicken Fried Rice
Ingredients
Equipment
Method
- In a small bowl, whisk together 3 eggs with 1 tablespoon of water until well combined.
- Melt 1 tablespoon of butter in a large skillet or wok over medium heat until sizzling.
- Pour in the egg mixture and let it cook undisturbed for about 2 minutes until set, forming a thin omelet.
- Transfer the cooked egg to a cutting board, chop into bite-sized pieces, and set aside.
- Heat 2 tablespoons of oil in the same skillet and add the finely chopped onion. Sauté for 3-4 minutes until translucent and soft.
- Add the minced garlic cloves during the last 2 minutes of cooking the onions, stirring to release their aroma without burning.
- Add the cold cooked brown rice to the skillet along with soy sauce, sesame oil, and black pepper. Stir-fry continuously for about 5 minutes until the rice is heated through and has absorbed the flavors.
- Gently fold in the chopped egg, cooked chicken pieces, mixed vegetables, and green onions.
- Taste and adjust seasoning if needed with additional soy sauce or black pepper.
- Serve hot, garnished with additional sliced green onions if desired.
Notes
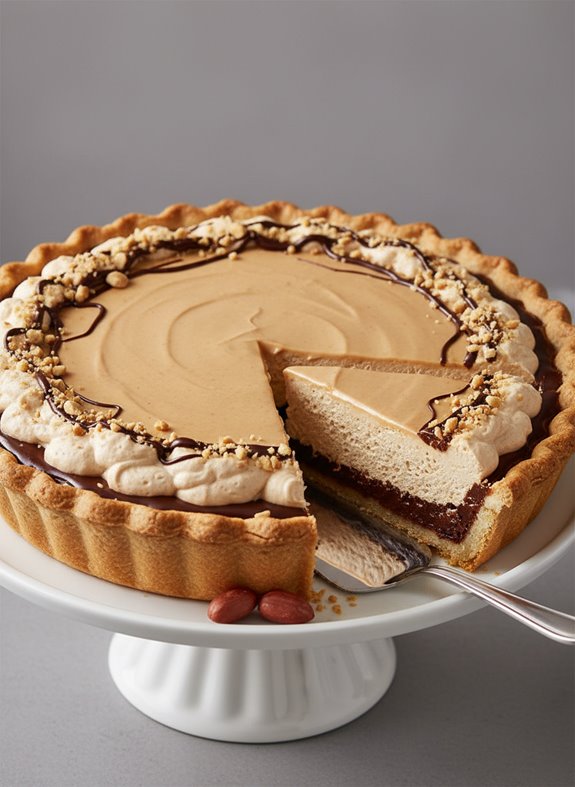
Peanut Butter Luster Pie
Ingredients
Equipment
Method
- Preheat your oven to 450°F. Prepare the refrigerated pie crust according to the package directions and press it into a 9‐inch pie pan. Bake for 9–11 minutes until the crust turns light golden brown. Allow the crust to cool completely.
- For the chocolate base layer, in a small saucepan over low heat, melt 1/2 cup of the semi-sweet chocolate chips together with 1 tablespoon of butter and 2 teaspoons of water, stirring constantly until smooth. Stir in 1/4 cup powdered sugar and add extra water if needed to achieve a spreadable consistency.
- Spread the warm chocolate mixture evenly over the bottom and up the sides of the cooled pie shell to form a barrier that will keep the crust crisp. Place the pie shell in the refrigerator while you prepare the filling.
- For the peanut butter filling, combine 1 cup butter and 1 cup firmly packed brown sugar in a medium saucepan. Gently heat while stirring constantly until the mixture melts into a golden caramel consistency. Remove from heat and mix in 1 cup peanut butter until fully incorporated.
- Allow the peanut butter mixture to cool slightly, then fold in the 12‑ounce container of thawed whipped topping to create an airy, mousse-like texture.
- Spoon the peanut butter filling into the chocolate-lined pie shell and smooth the top. If desired, garnish with the additional whipped topping reserved for garnish and sprinkle chopped peanuts over the top.
Notes
Honey Glazed Chicken
Ingredients
Equipment
Method
- Preheat oven to 350°F (175°C).
- Cut chicken breasts into 2-inch pieces.
- In a bowl, mix flour, salt, and pepper to create a seasoned coating.
- Pour melted butter on one end of a 9x12 baking dish.
- Dredge each piece of chicken in the flour mixture, then dip in the melted butter. Arrange the coated pieces at the opposite end of the baking dish from the butter.
- In a separate bowl, whisk together soy sauce, lemon juice, and honey until well combined.
- Bake the chicken for 30 minutes.
- Remove from oven and baste the chicken with the honey mixture.
- Return to the oven for 10 minutes, then baste again with more glaze.
- Bake for a final 10 minutes until chicken is cooked through and the glaze has caramelized.
- Serve hot, preferably over rice with extra glaze drizzled on top.
Notes
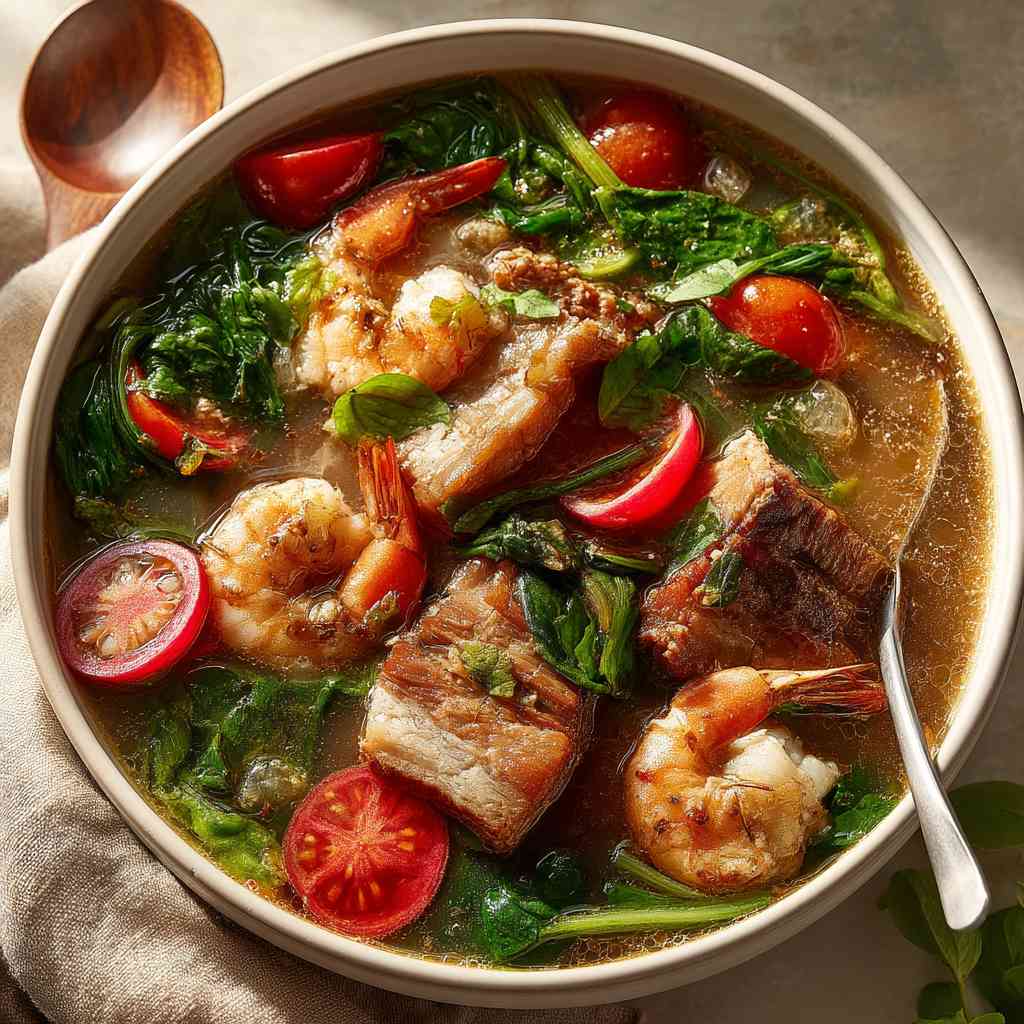
Authentic Filipino Sinigang Soup Recipe
Ingredients
Equipment
Method
- Heat 1 tablespoon of cooking oil in a large pot over medium heat. Add 2 mashed garlic cloves and 1 large onion, cooking until they are lightly browned to create an aromatic base.
- Add 2 roma tomatoes and cook until they begin to soften slightly. Stir in 1 tablespoon of patis (fish sauce) to build an umami flavor.
- Add 2 lbs of your chosen meat to the pot and brown it on all sides to seal in the juices. If using seafood, note that it will need less cooking time.
- Pour in 9 cups of water and bring the mixture to a rolling boil. If using seafood, add it now and let cook for about 20 minutes.
- For pork or beef, reduce the heat to medium-low and simmer for 40 minutes until the meat becomes tender and begins to fall apart.
- Stir in the 1.4 oz packet of sinigang soup mix. This will transform the broth into its signature tangy and savory flavor.
- In the final 5 minutes of cooking, add 5 small bok choy (or 2 cups baby spinach) to the pot and let them wilt slightly while retaining their vibrant color and texture.
- Serve the hot Sinigang with a side of steamed white rice. Offer extra patis at the table for those who enjoy an additional savory punch.
Notes

Cottage Cheese Chips
Ingredients
Equipment
Method
- Preheat your oven to 375°F (190°C) and line a baking sheet with parchment paper or a silicone baking mat.
- In a blender, combine the cottage cheese, egg, shredded cheddar cheese, garlic powder, onion powder, smoked paprika, and salt and pepper. Blend until mostly smooth, leaving a slight texture for character.
- Use a spoon to drop 1-2 tablespoon-sized mounds of the mixture onto the baking sheet. Flatten each mound into a thin circle using the back of your spoon; thinner chips will result in a crispier texture.
- Bake in the preheated oven for 20-30 minutes. For softer, chewier chips, aim for around 20 minutes, and for extra crispy chips, bake closer to 28-30 minutes.
- Allow the chips to cool completely on the baking sheet before serving to ensure they firm up and achieve the perfect crunch.
Notes

Comforting Cheesy Hashbrown Casserole
Ingredients
Equipment
Method
- Preheat your oven to 350°F (175°C).
- Spray a 9x13 baking dish thoroughly with cooking spray to prevent sticking.
- In a large mixing bowl, combine the shredded hash browns, sour cream, and condensed cream of chicken soup.
- Add the Velveeta cheese chunks and mix until all ingredients are well incorporated and evenly distributed.
- Transfer the mixture to your prepared baking dish, spreading it out in an even layer.
- Sprinkle onion flakes across the top, then season with salt and pepper to taste.
- Cover the dish with aluminum foil and bake for 1 hour.
- After 1 hour, remove the foil and continue baking for an additional 30 minutes until the top is golden and slightly crispy.
- Allow the casserole to rest for about 5 minutes before serving to help it set up for easier serving.
Notes

Cranberry Pecan Chicken Salad Sandwich
Ingredients
Equipment
Method
- In a large mixing bowl, combine the diced cooked chicken and finely diced celery.
- Add the relish and mayonnaise to the bowl.
- Fold in the dried cranberries, pecan pieces, and finely diced Vidalia onion.
- Season with salt and freshly ground black pepper, adjusting to taste if needed.
- Cover the bowl and refrigerate for at least 2 hours to allow flavors to meld together.
- When ready to serve, scoop approximately ¾ to 1 cup of chicken salad onto a slice of bread and top with another slice to make a sandwich.
Notes

Delicious Chicken Wraps
Ingredients
Equipment
Method
- Combine the cubed cooked chicken, drained whole kernel corn, and salsa in a saucepan or microwave-safe bowl. Warm the mixture until heated through.
- Lay out the warmed flour tortillas and sprinkle each with shredded cheddar cheese. Spoon about ½ cup of the warm chicken mixture onto the center of each tortilla.
- Roll each tortilla up snugly, securing with toothpicks if desired.
- Serve the wraps with a dollop of sour cream on the side.
Notes
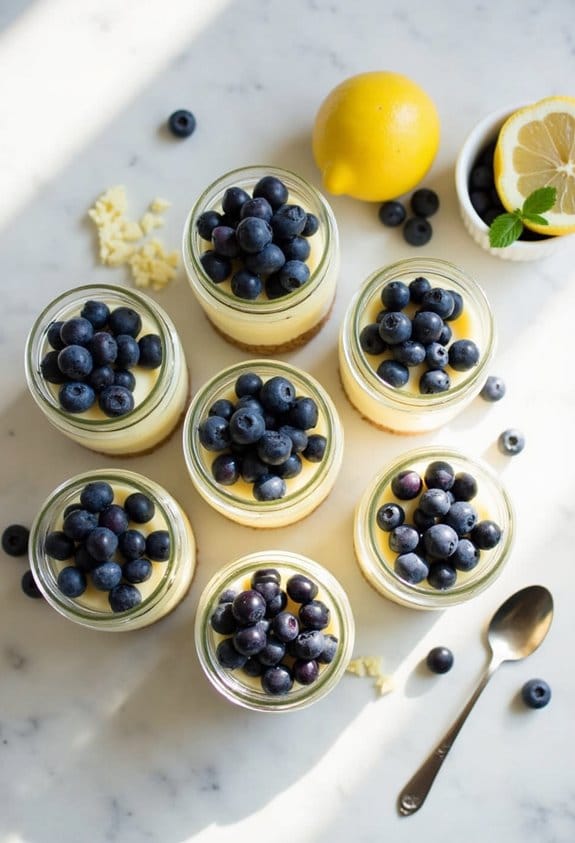
Lemon Blueberry Cheesecake Cups
Ingredients
Equipment
Method
- In a bowl, combine the graham cracker crumbs, melted unsalted butter, sugar, and a pinch of salt. Mix until the texture resembles wet sand.
- Spoon about 2-3 tablespoons of the crust mixture into each serving cup or jar and press down firmly using the back of a spoon (or a cocktail muddler). Place the cups in the refrigerator for 5-10 minutes to let the butter firm up.
- Whip the cold heavy cream in a separate bowl until soft peaks form and set aside. In another bowl, beat the softened cream cheese with granulated sugar for 1-2 minutes until completely smooth and fluffy.
- Add the lemon zest, fresh lemon juice (starting with 2 tablespoons and adjusting to taste), and vanilla extract into the cream cheese mixture. Gently fold in the whipped cream until combined, being careful not to over-mix.
- Spoon or pipe approximately 1/3 cup of the creamy filling onto each chilled crust. Give the cups a light tap to settle the filling, then cover and refrigerate for at least 2 hours (or 4-6 hours for a firmer set).
- Just before serving, top each cheesecake cup with fresh blueberries. For an extra touch, you can macerate the blueberries by tossing them with sugar and lemon juice and letting them sit for 15-30 minutes.
- Optional: Garnish with fresh mint sprigs or serve alongside a shot of espresso or a cup of tea to enhance the dessert experience.
Notes
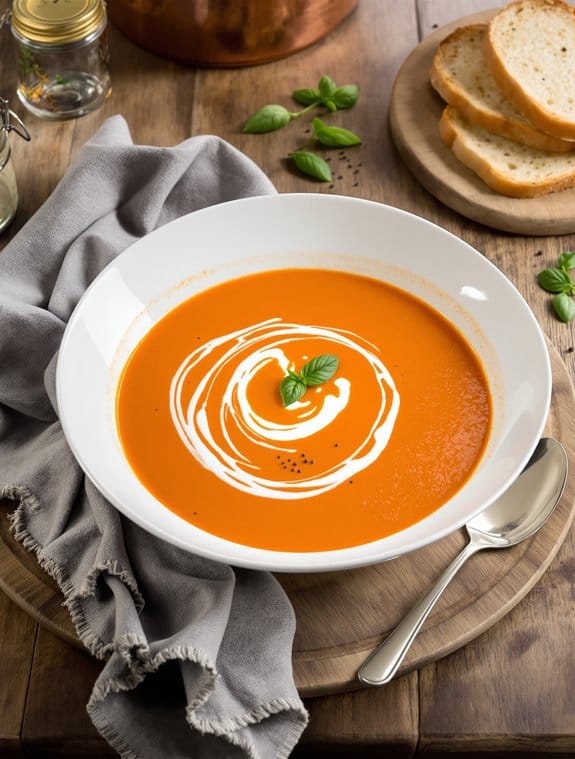
Creamy Roasted Red Pepper Soup
Ingredients
Equipment
Method
- Melt butter in a medium soup pot over medium heat.
- Add diced onions, celery, and garlic to the pot.
- Sprinkle in the dried thyme, basil, cayenne pepper, and kosher salt. Sauté for about 10 minutes, stirring frequently until vegetables are tender.
- Pour in the vegetable stock and heavy cream, then add the roasted red peppers.
- Bring the mixture to a gentle simmer (not a rolling boil to prevent cream separation).
- Use an immersion blender to puree the soup until completely smooth and velvety.
- Add the bay leaf and continue to simmer for an additional 20 minutes to develop flavors.
- Remove the bay leaf before serving.