===
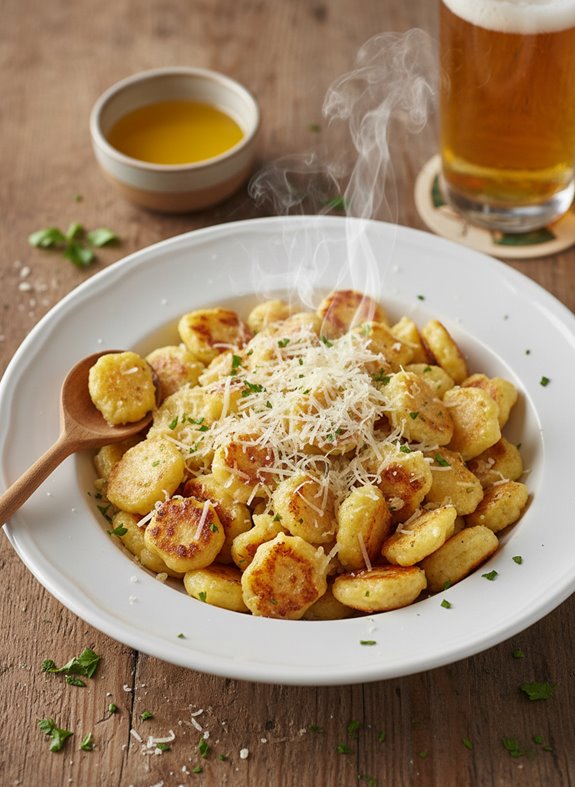
Why You’ll Love This Buttery Homemade German Spatzle
Comfort on a plate. That’s exactly what you get with homemade spätzle, those tender little German dumplings that dance between pasta and dumpling.
I’m obsessed with how simple they are—just flour, eggs, milk, and salt transform into something magical. The pillowy texture soaks up butter and sauce like nothing else, while the slightly chewy bite keeps you coming back for more.
Trust me, once you’ve had fresh spätzle, those dry packaged versions will never satisfy.
The best part? You can have them ready in minutes, not hours. Perfect for weeknights when you need something cozy but quick.
What Ingredients are in Buttery Homemade German Spatzle?
Making authentic German spätzle requires just a handful of simple pantry ingredients that transform into the most comforting little dumplings you can imagine. The beauty of this traditional recipe lies in its simplicity—no fancy ingredients needed, just wholesome basics that come together to create something truly special. And while the ingredient list might seem basic, the flavor and texture are anything but.
- 1 cup all-purpose flour
- 1/4 teaspoon salt
- 1/4 cup milk or water
- 2 eggs
- Butter (for sautéing, optional)
- Grated Parmesan cheese (optional)
When selecting your ingredients, quality matters even with something this simple. Fresh eggs will give your spätzle a richer color and flavor, and I prefer using milk over water for a slightly more tender result. The butter and Parmesan cheese aren’t technically part of the dough itself but are worth keeping on hand for serving—they transform these humble dumplings into something truly indulgent. And while the recipe is perfect as is, some cooks like to add a tiny pinch of nutmeg or white pepper to the dough for a subtle flavor boost.
How to Make This Buttery Homemade German Spatzle
Making spätzle is one of those kitchen projects that feels like a beautiful connection to generations past—simple ingredients coming together through time-honored techniques.
To begin, sift 1 cup of flour with 1/4 teaspoon of salt in a medium bowl. This might seem like an unnecessary step, but trust me, this brief moment guarantees your spätzle will be free of lumps and have that perfect, tender texture we’re after.
Next comes the wet ingredients. Crack 2 eggs directly into your flour mixture, and pour in your 1/4 cup of milk (or water if that’s what you have on hand).
Now, grab a wooden spoon and beat the mixture vigorously by hand until a smooth, slightly sticky dough forms. The consistency should be somewhere between pancake batter and cookie dough—thick enough to hold its shape momentarily when dropped from a spoon, but still soft enough to be pushed through holes.
Need a visual? Think about the way honey slowly drips from a spoon.
Now for the fun part—cooking these little dumplings! Bring a large pot of salted water to a rolling boil. Traditional methods involve placing the dough on a wooden board and scraping off small pieces directly into the boiling water, or forcing the dough through a large-holed colander.
Either way works beautifully. Cook the spätzle in small batches (overcrowding leads to sticking) for about one minute, or until they float to the surface.
You can serve them immediately with a sprinkle of herbs, or take them to the next level by sautéing briefly in butter until the edges get slightly crispy, then finishing with a generous dusting of grated Parmesan cheese.
Those crispy buttery edges with the tender centers? Pure comfort on a plate.
Buttery Homemade German Spatzle Substitutions and Variations

While traditional spätzle holds a special place in German cuisine, one of the joys of this humble dish lies in its adaptability.
I love swapping in whole wheat flour for a nutty flavor, or mixing in herbs like parsley and chives for a fresh twist.
Not feeling dairy-friendly? Replace milk with water (exactly as the recipe allows) or try unsweetened almond milk.
For a richer version, I sometimes fold in a spoonful of sour cream to the batter.
My favorite variation? Tossing the cooked spätzle with caramelized onions and crispy bacon, then finishing with a sprinkle of Gruyère instead of parmesan.
What to Serve with Buttery Homemade German Spatzle
Four classic German dishes pair perfectly with buttery homemade spätzle, making it the ultimate comfort food sidekick.
I always serve my spätzle alongside a rich Jägerschnitzel with mushroom gravy—the noodles soak up that savory sauce like little flavor sponges.
Can’t go wrong with Sauerbraten either, its tangy-sweet gravy is divine with spätzle.
For something simpler, try a traditional Bratwurst with sauerkraut. The acidity cuts through the buttery noodles beautifully.
And when I’m feeling fancy? Beef Rouladen, those thin beef rolls with mustard and pickles. Pure German heaven.
Final Thoughts

After mastering this classic German spätzle recipe, you’ll never look at pasta the same way again. There’s something deeply satisfying about transforming such simple ingredients—just flour, eggs, salt, and milk—into these tender, rustic little dumplings.
I still remember my first attempt, a messy kitchen disaster that somehow still tasted amazing. That’s the beauty of spätzle—it’s forgiving yet impressive. Whether you serve them buttered alongside schnitzel, or sautéed with cheese as käsespätzle, they’re the ultimate comfort food.
Trust me, once you’ve made them from scratch, store-bought pasta might lose its appeal entirely.
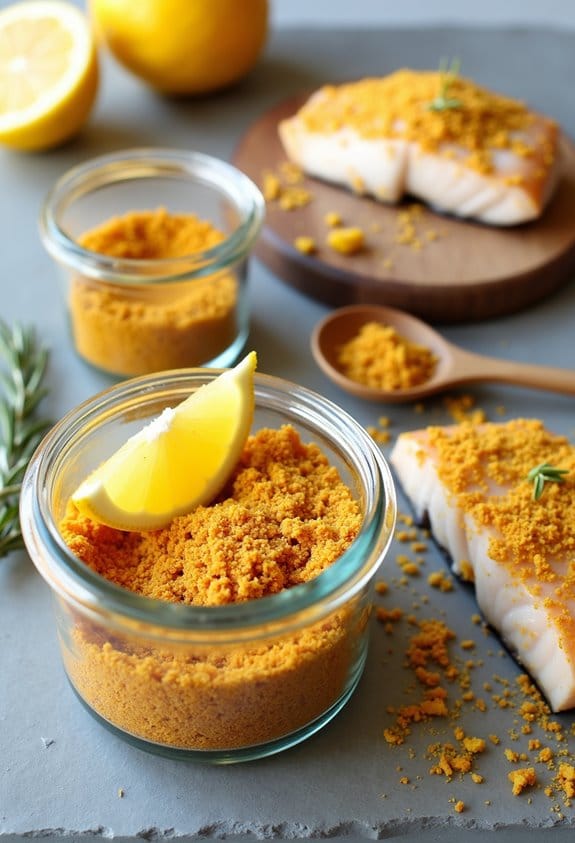
Citrus Zest Dry Rub
Ingredients
Equipment
Method
- Using a microplane, collect 1 teaspoon of fine lemon zest and 1 teaspoon of fine orange zest.
- Spread the freshly grated zest on a plate and allow it to air-dry for 30-60 minutes until completely dry, or spread on a parchment-lined tray and place in a low oven (170-200°F) for 10-15 minutes until brittle.
- Let the dried zest cool completely before proceeding.
- In a small bowl, whisk together the dried lemon and orange zests, kosher salt, ground coriander, and garlic powder until thoroughly combined.
- If desired, add the optional black pepper and sugar for additional flavor and browning properties.
- If the zest pieces seem too coarse after mixing, pulse the finished rub a few times in a spice grinder or small food processor.
- Transfer the finished rub to an airtight container for storage.
Notes
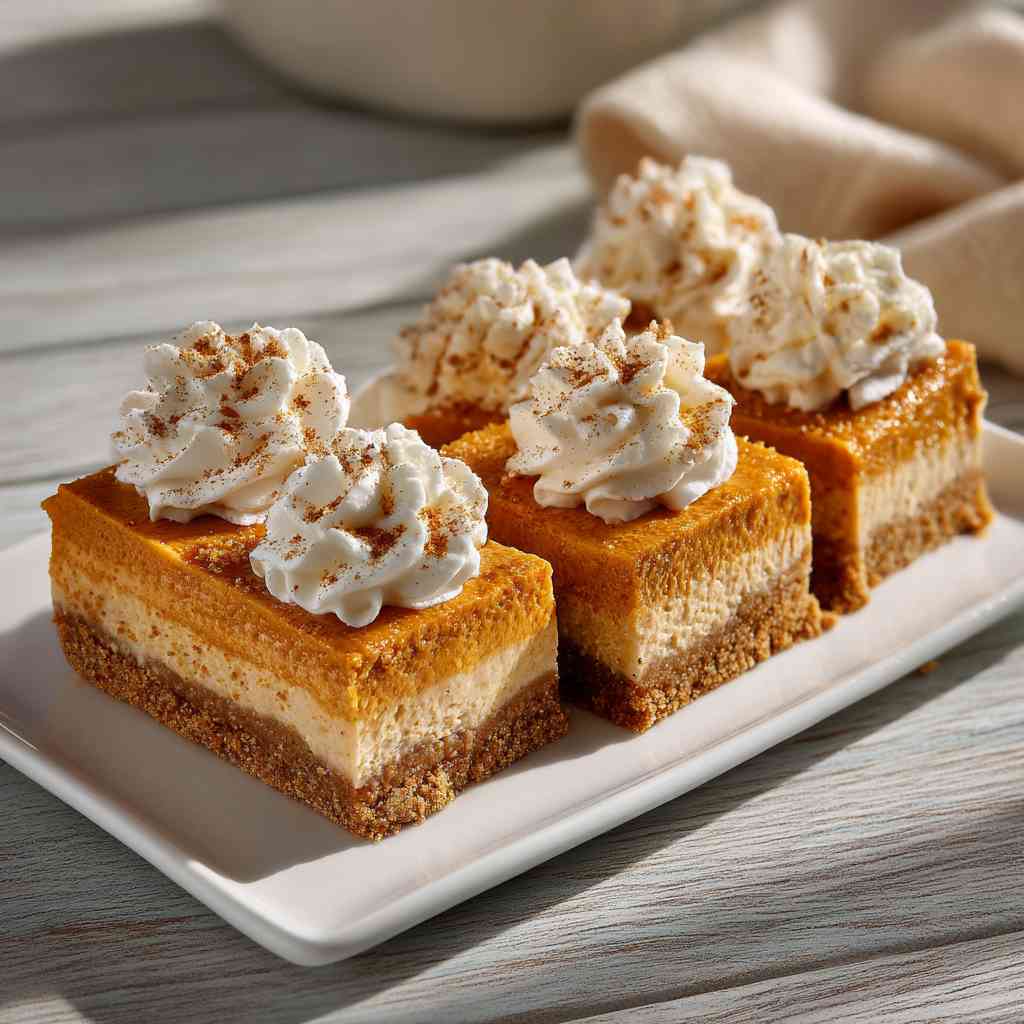
Sweet Potato Cheesecake Squares
Ingredients
Equipment
Method
- Preheat your oven to 325°F (160°C).
- For the crust: In a bowl, combine 1½ cups graham cracker crumbs (or digestive biscuits), ¼ cup granulated sugar, and ½ teaspoon cinnamon. Pour in 6 tablespoons melted unsalted butter and mix until the mixture resembles wet sand. Press this mixture firmly into the bottom of a greased 8×8-inch baking pan.
- Bake the crust for 8 minutes, then remove it from the oven and let it cool while you prepare the filling.
- For the filling: Using a mixer, beat 16 oz of softened cream cheese until smooth and lump-free. Add 1 cup cooked mashed sweet potato and ¾ cup granulated sugar, mixing until the mixture is uniform.
- Add 2 large eggs one at a time to the mixture. Then stir in 1 teaspoon vanilla bean paste, ½ teaspoon cinnamon, ¼ teaspoon nutmeg, and ¼ teaspoon salt.
- Pour the filling over the pre-baked crust and smooth the top with a spatula. Bake until the center is just set but still has a slight jiggle, about 35–40 minutes.
- If using the optional topping: Whisk together ½ cup sour cream, 2 tablespoons powdered sugar, and ½ teaspoon vanilla bean paste. Spread this topping over the hot cheesecake and return it to the oven for another 5 minutes.
- Allow the cheesecake to cool completely at room temperature, then refrigerate for at least 4 hours (overnight is best) before cutting into squares. Garnish with whipped cream or chopped pecans if desired.
Notes
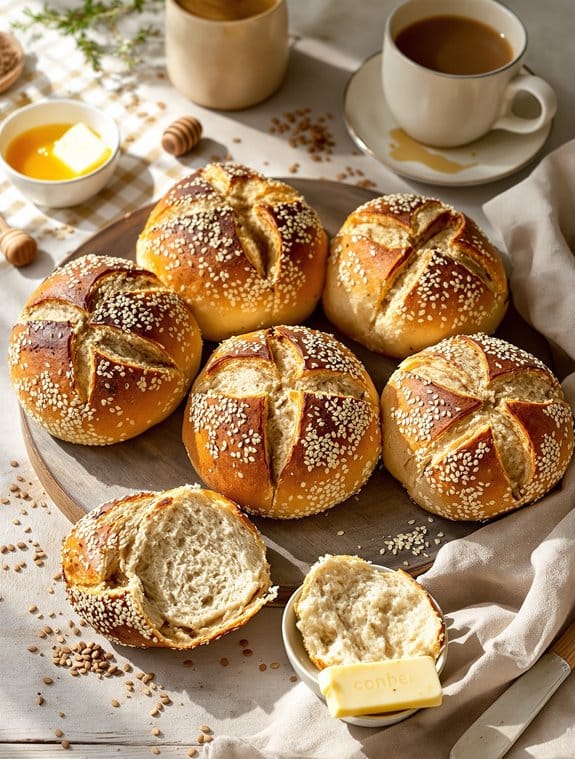
Rustic Sunflower Seed Rolls
Ingredients
Equipment
Method
- In a large bowl, combine the all-purpose flour, rye flour, and salt.
- In a separate small bowl, combine the yeast with honey and 1/4 cup of warm water from your total water amount. Let sit until foamy, about 5-10 minutes.
- Add the activated yeast mixture and remaining water to the flour mixture. Stir until combined.
- Knead the dough for 10 minutes until smooth and elastic.
- Fold in the sunflower seeds, sesame seeds, and pre-soaked flax seeds until evenly distributed throughout the dough.
- Place the dough in a greased bowl, cover with a damp cloth, and let rise until doubled in size.
- Punch down the risen dough and divide into 12 equal portions.
- Shape each portion into a roll and place on a greased baking sheet.
- Brush the tops with water and make a decorative slice across each roll.
- Cover the rolls and let rise a second time until puffy.
- Preheat oven to 350°F (175°C).
- Just before baking, brush the tops with milk for a golden finish.
- Bake for approximately 30 minutes, or until the rolls are golden brown and sound hollow when tapped on the bottom.
- Allow to cool slightly before serving.
Notes

Chicken Fettuccine Alfredo
Ingredients
Equipment
Method
- Preheat your oven to 250°F and place a large pasta bowl or casserole dish inside to warm.
- In a bowl, cream the softened butter with a wooden spoon until light and fluffy, about 2-3 minutes.
- Gradually beat in the cream, adding a little at a time to ensure smooth incorporation.
- Fold in the grated Parmesan cheese, a few tablespoons at a time, until you have a luxurious, creamy mixture. Set aside.
- If using leftover chicken, ensure it's chopped into bite-sized pieces and kept warm. If using fresh chicken, quickly sauté diced boneless chicken in a bit of olive oil until just cooked through.
- Bring the water with salt to a rolling boil in a large pot. Add the fettuccine and cook until al dente according to package instructions.
- Drain the pasta completely and transfer it to your heated bowl from the oven.
- Immediately add the prepared chicken and butter-cheese mixture to the hot pasta.
- Toss everything together thoroughly until every strand of fettuccine is coated with the velvety sauce.
- Season with freshly ground black pepper to taste and serve immediately with additional grated Parmesan cheese.
Notes

Homemade Vegetable Soup
Ingredients
Equipment
Method
- Wash and trim the onion, carrots, and celery, then dice them into bite-sized pieces.
- Heat olive oil in a large, non-stick pot over medium-low heat. Add the diced vegetables (onion, carrots, and celery).
- Stir occasionally and cook for 7-10 minutes until the vegetables have softened nicely.
- Add the minced garlic and dried herbs, stirring to combine.
- Pour in the water and reduce heat to low. Allow the soup to gently simmer for about 10 minutes to meld the flavors.
- Using an immersion blender, carefully blend the soup to your desired consistency. Alternatively, you can use an electric mixer if you don't have an immersion blender.
- Season with salt and pepper, adjusting to taste.
- Optional: For a heartier soup, add barley, rice, pasta, beans, or additional vegetables and simmer until tender. For a creamier version, stir in a cup of cream or half-and-half at the end.
Notes
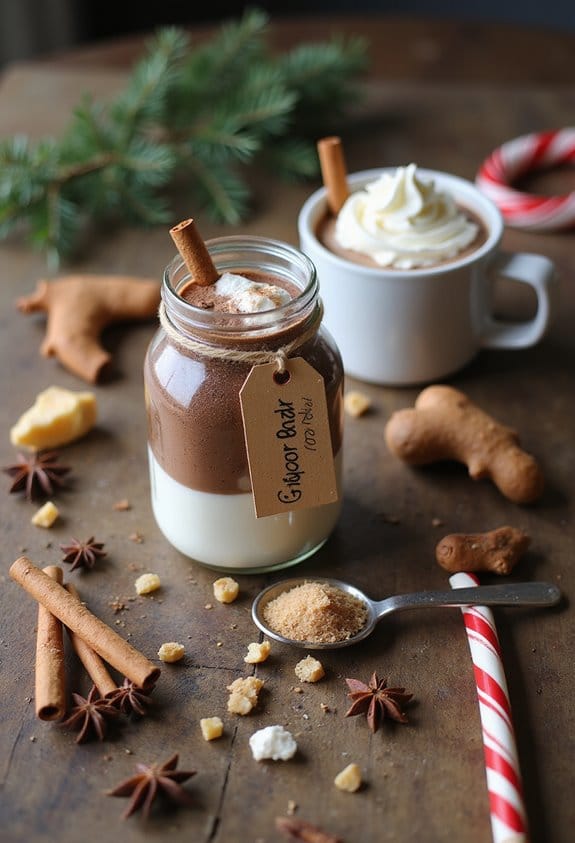
Gingerbread Hot Cocoa Mix
Ingredients
Equipment
Method
- In a large mixing bowl, combine the unsweetened cocoa powder, brown sugar, and dry milk powder (or coconut milk powder).
- Add the ground cinnamon, ground ginger, and ground cloves to the bowl.
- If using, add the optional sea salt and cornstarch.
- Whisk all ingredients together thoroughly, breaking up any lumps in the mixture.
- For an extra-fine texture, pulse the mixture in a food processor for 10-15 seconds (optional step).
- Transfer the finished mix to a clean, dry jar with an airtight seal for storage.
- To serve, whisk 3 tablespoons of mix into 1 cup of hot milk (or water if necessary). Adjust amount to taste.
Notes

Cheesy Garlic Bread
Ingredients
Equipment
Method
- Preheat your oven to 375°F (190°C) and line a baking sheet with parchment paper or foil.
- In a mixing bowl, combine 1/2 cup softened unsalted butter, 3 minced garlic cloves, 2 tablespoons chopped fresh parsley, 1/2 teaspoon dried oregano (if using), and a pinch of salt. Mix until smooth and fragrant.
- Place the sliced bread halves on a cutting board. Generously spread the garlic butter mixture over the cut sides of both halves.
- Evenly sprinkle 2 cups shredded mozzarella and 1/2 cup grated Parmesan cheese over the buttered bread halves.
- Transfer the prepared bread onto your baking sheet and bake in the preheated oven for 12-15 minutes until the cheese is bubbly and melted.
- For a perfectly golden top, switch the oven to broil for 1-2 minutes. Watch very carefully to avoid burning.
- Remove the bread from the oven, garnish with extra chopped parsley, slice while still warm, and serve immediately.
Notes

Amish Macaroni Salad
Ingredients
Equipment
Method
- Bring a large pot of salted water to a boil. Add the 2 cups of elbow macaroni and cook for 7-9 minutes until tender but not mushy. Drain the pasta in a colander and immediately rinse with cold water to stop the cooking process. Allow the pasta to cool completely.
- In a large mixing bowl, whisk together 1 cup mayonnaise, 1 tablespoon yellow mustard, 1/4 cup sugar, 1 tablespoon white vinegar, 1/4 teaspoon salt, 1/4 teaspoon ground black pepper, and 1 tablespoon sweet pickle relish until smooth and well combined.
- Fold the cooled macaroni into the dressing along with the 3 chopped hard-boiled eggs, 1/2 cup finely chopped celery, 1/4 cup finely chopped onion, and, if using, 1/4 cup diced red bell pepper. Gently mix until every ingredient is evenly coated.
- Cover the salad and refrigerate for at least 2 hours to allow the flavors to meld. Before serving, give the salad a gentle stir to redistribute the dressing.
Notes

Salmon Rice Casserole
Ingredients
Equipment
Method
- Preheat your oven to 350°F and grease a casserole dish.
- In a saucepan over medium heat, melt the margarine. Add the flour and salt, stirring constantly for about 1 minute to create a roux.
- Remove from heat and gradually add the milk, stirring continuously to prevent lumps from forming.
- Return the pan to heat and continue stirring until the sauce thickens to a smooth consistency that coats the back of a spoon.
- Stir in the curry powder and Worcestershire sauce to enhance the flavor depth.
- Gently break the canned salmon into chunks and fold into the sauce, followed by the cooked rice.
- Transfer the mixture to the prepared casserole dish, spreading it into an even layer.
- Sprinkle the grated cheddar cheese evenly over the top of the casserole.
- Bake for 30 minutes, until heated through and the cheese has melted to a golden brown.
- Allow the casserole to rest for a few minutes before serving.
Notes

Vanilla Custard Cream Squares
Ingredients
Equipment
Method
- Preheat your oven to 400°F (200°C).
- On a lightly floured surface, roll out the thawed puff pastry sheets and cut them to fit a 9×9-inch baking pan. Place the sheets on a baking tray lined with parchment paper and prick them with a fork to prevent bubbles. Bake for 10–12 minutes until golden and crisp, then let cool completely.
- In a saucepan, combine the whole milk and heavy cream. Heat the mixture until it is just simmering, watching for small bubbles at the edge.
- In a separate bowl, whisk together the granulated sugar, egg yolks, cornstarch, and all-purpose flour until smooth. Slowly pour about half of the hot milk mixture into the egg mixture while whisking constantly to temper the eggs.
- Return the tempered mixture to the saucepan and cook over medium heat, stirring continuously until the custard thickens. Remove from heat, then stir in the vanilla extract and unsalted butter until the custard is smooth and glossy.
- To assemble, place one of the cooled pastry sheets at the bottom of the 9×9-inch pan. Pour the custard over the pastry ensuring it is not too hot, then top with the second pastry sheet. Refrigerate the assembled squares for at least 4 hours, or overnight for best results.
- Before serving, dust the custard squares generously with powdered sugar and let them sit at room temperature for about 15 minutes to allow the flavors to fully develop and to ensure easier cutting.